

Here is what you'll need:
- an image/design
- cutting board
- wax paper (if you want to keep the image and use it for another shirt)
- sharp scissors
- permanent marker
- needle/thread or sewing machine
- q-tip(s)
- Bleach
I taped my image over the waxpaper onto a cutting board.


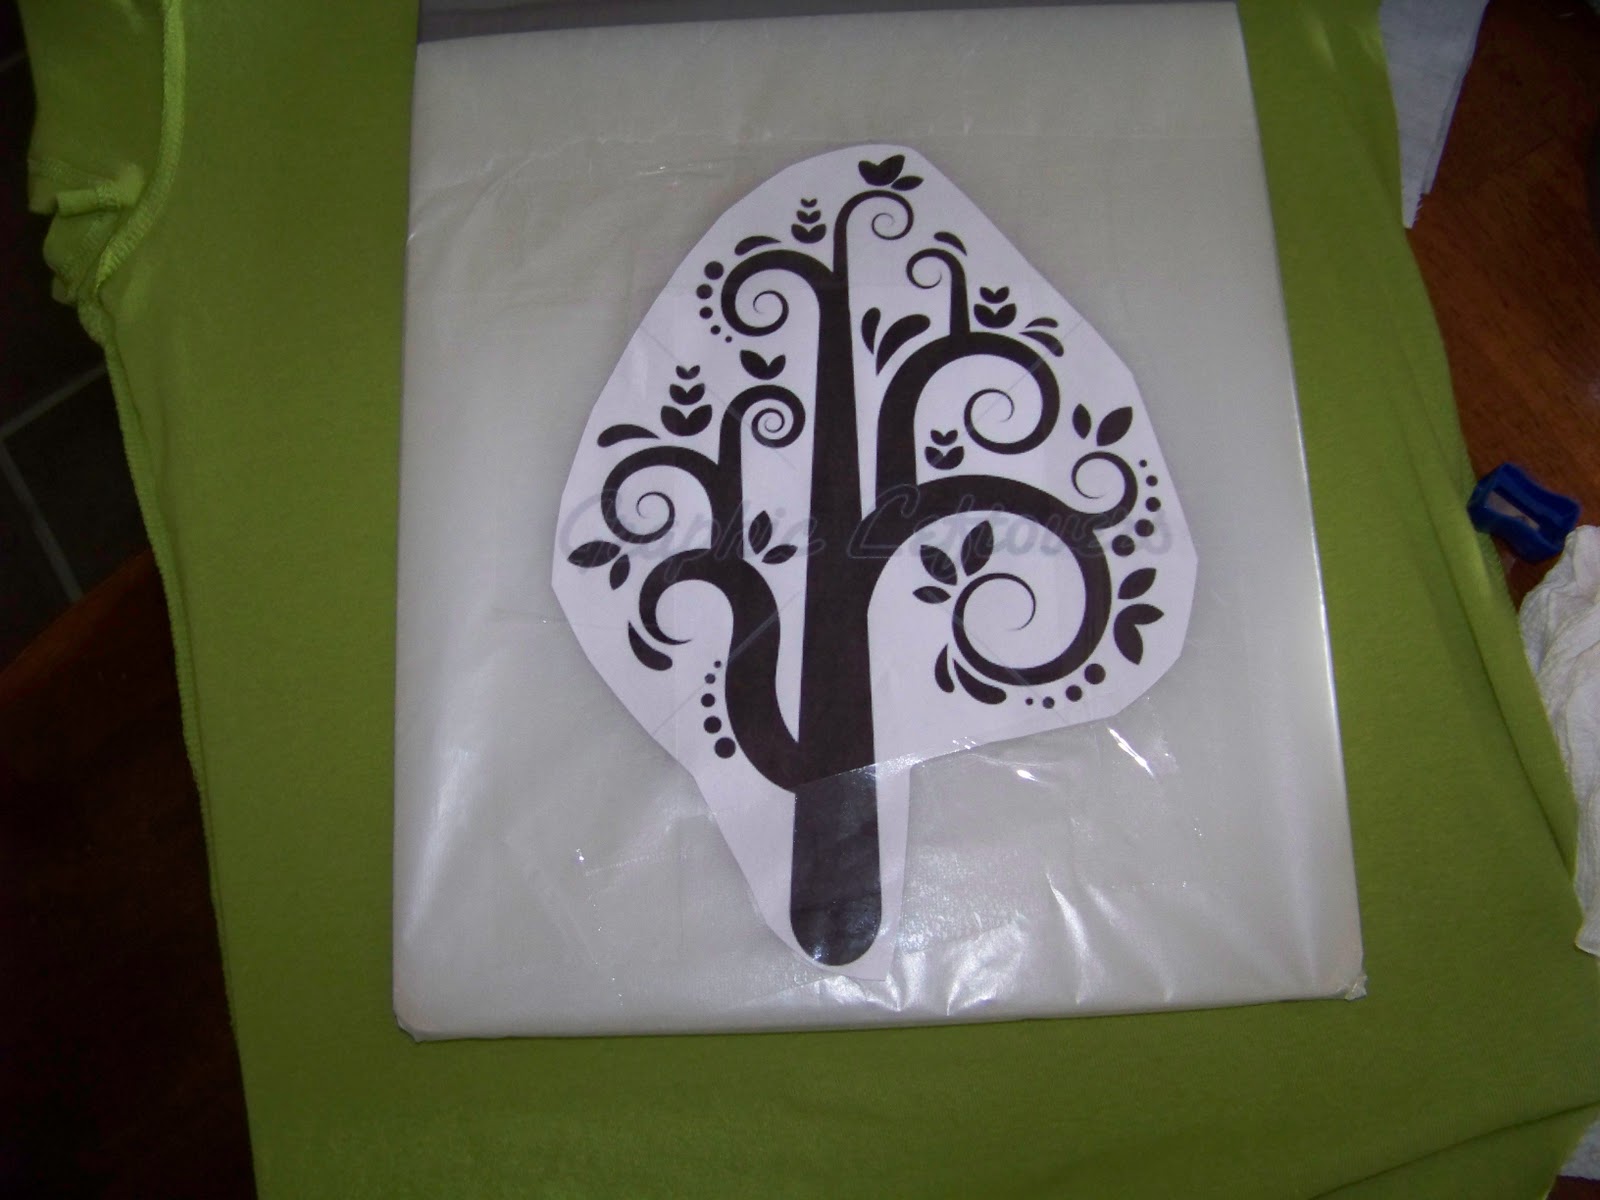
I used an exacto knife to cut out the image and then placed it onto my shirt and traced it with permanent marker:


NOTE: knit fabric like this is HARD to cut, with anything. I tried the exacto knife, seam ripper, and scissors. Scissors worked best for me, you have to be patient. the fabric is not easy to work with, very stretchy and not forgiving, thankfully this project has a forgiving nature.
Once your design is cut out you'll need to sew it onto the long sleeved shirt. I used a sewing machine for the straight edges and sewed the curly parts by hand. After your shirts are sewn together, you can add a vintage spin, by take a q-tip soaked in bleach to the edges of the fabric. Take care to let the bleach dry completely or you will have little bleach spots on your clothes (see bottom edge of my tshirt).
After a lot of cussing and "what in the hell was I thinking" moments, we have a finished product:

the grayish accents on here are the permanent marker, I will paint them with purple textile paint, once I stop hating on this shirt for all the gray hairs it's given me.


No comments:
Post a Comment