Showing posts with label DIY gifts. Show all posts

Thursday, December 15, 2011

Sugar Scrub Gifts!


Sugar Scrubs are such a nice treat for your body!  They exfoliate your skin and make you feel soft and touchable.  What a great gift to give at a FRACTION of the cost!  How does $1.14 a 1/2 pint jar sound (compared to $8 - $38 for store bought brands).

Here's what you'll need for ONE jar:

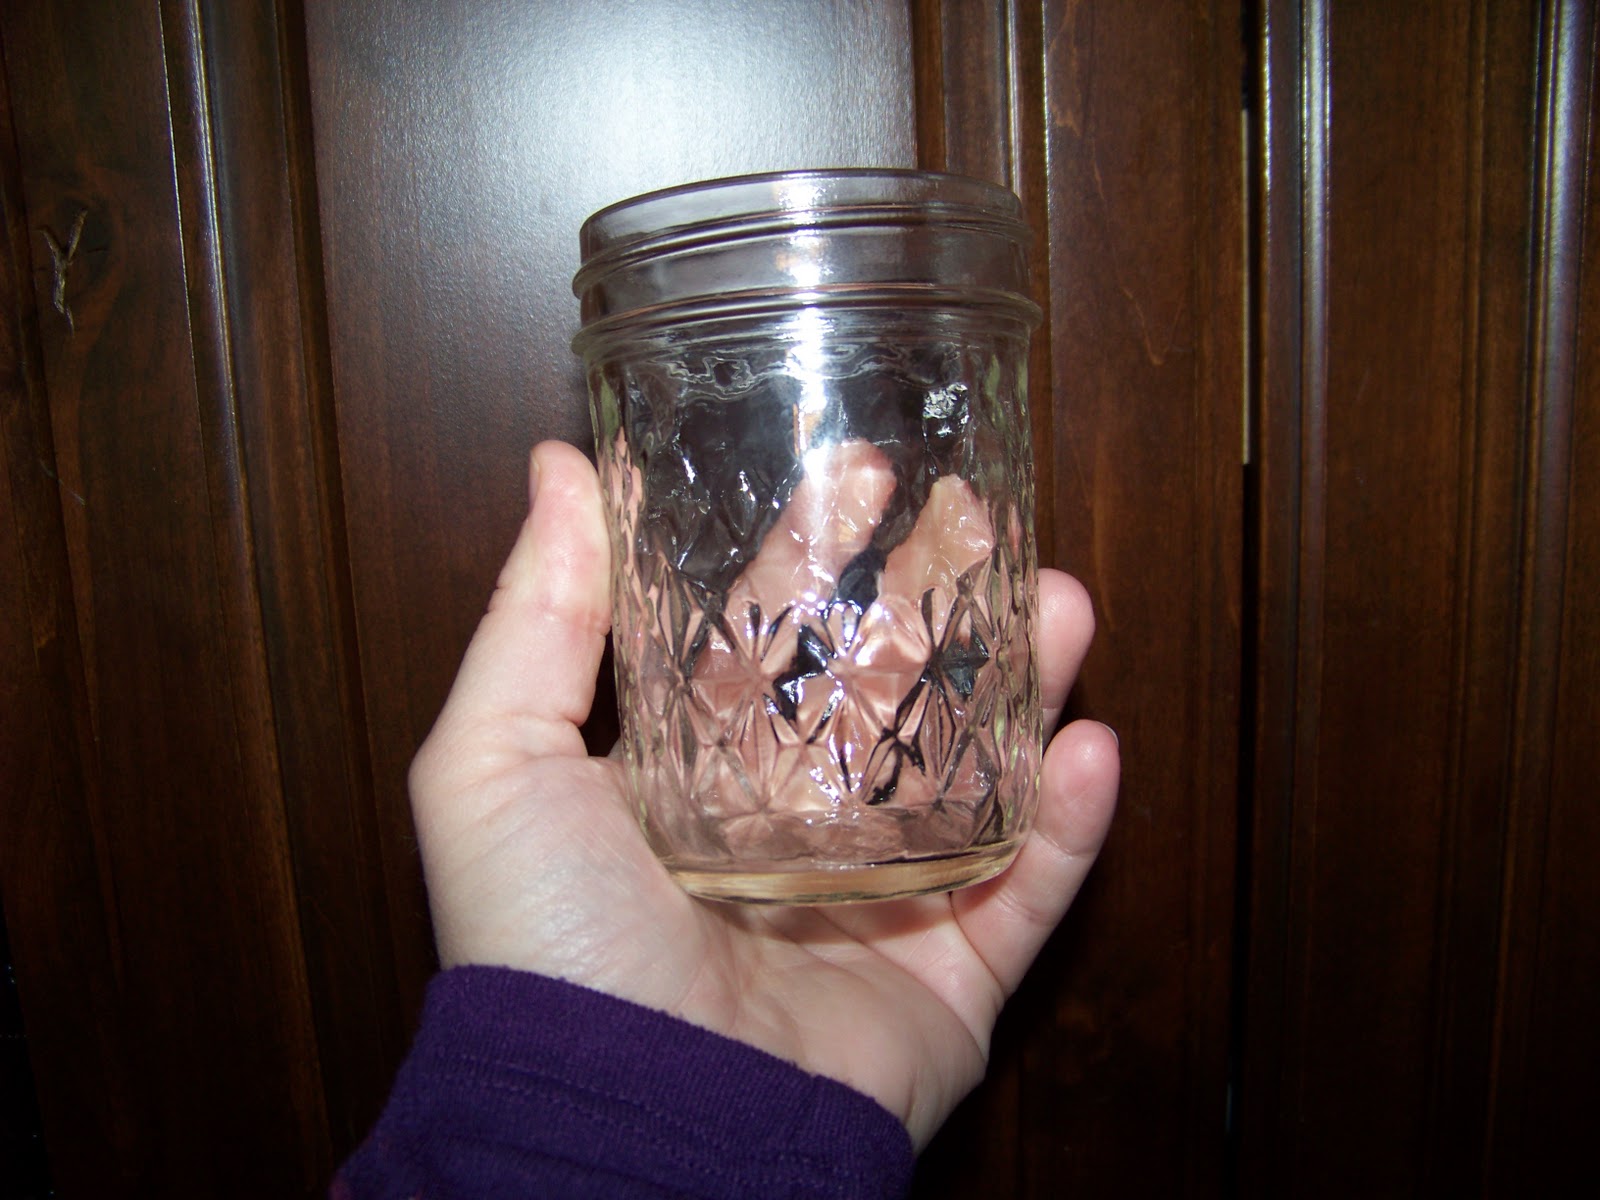
  • 1- 1/2 pint jelly jar
  • 10 starkist mints
  • 1/3-3/8 cup of baby oil
  • 1/2 cup sugar
  • Food processor or mallet (to finely crush mints)


With your food processor (or mallet-depending on your frustration level at the moment) finely crush your mints.


I've tried this a few different ways, and found the easiest, in my opinion.  Put either your sugar  OR your mints in first, then the baby oil, then your last ingredient.


put the lids on and shake it up!  Add a ribbon or piece of fancy fabric to the top (between the lid and the ring) and you've got the easiest spa gift on the planet!!

Pair it with your favorite EASY PEASY HANGING HAND TOWEL as a over achiever gift!

Wednesday, December 14, 2011

Easy Peasy Hanging Hand Towel


If you are looking for a super easy sewing project for a beginner or something fun and quick, this is your project!    Here's what you'll need: 
  • 1/4 yard of fabric 
  • scissors
  • kitchen towel
  • needle and thread or sewing machine
  • button
  • pattern


I found this project on Pinterest, HERE at the Creamer Chronicles Blog Spot, that is also were I found this pattern.  I used foam board to cut out the pattern.


Place the patter on two separate pieces of fabric.  I used complimenting fabrics, but have also used the same for back and front.  Remember to lay the fabric on top of each other with the two right sides together.


Cut out the pattern onto the fabric.


Sew the two pieces together inside out.  Remember not to sew the bottom, as this is where you'll be putting your towel.


Turn your fabric right-side out and top stitch.  I used a fun whimsical stitch that is programmed into my sewing machine.


Grab your kitchen towel and cut in half width wise.


Gather your towel.  Creamer Chronicles suggests basting this part, but I don't.


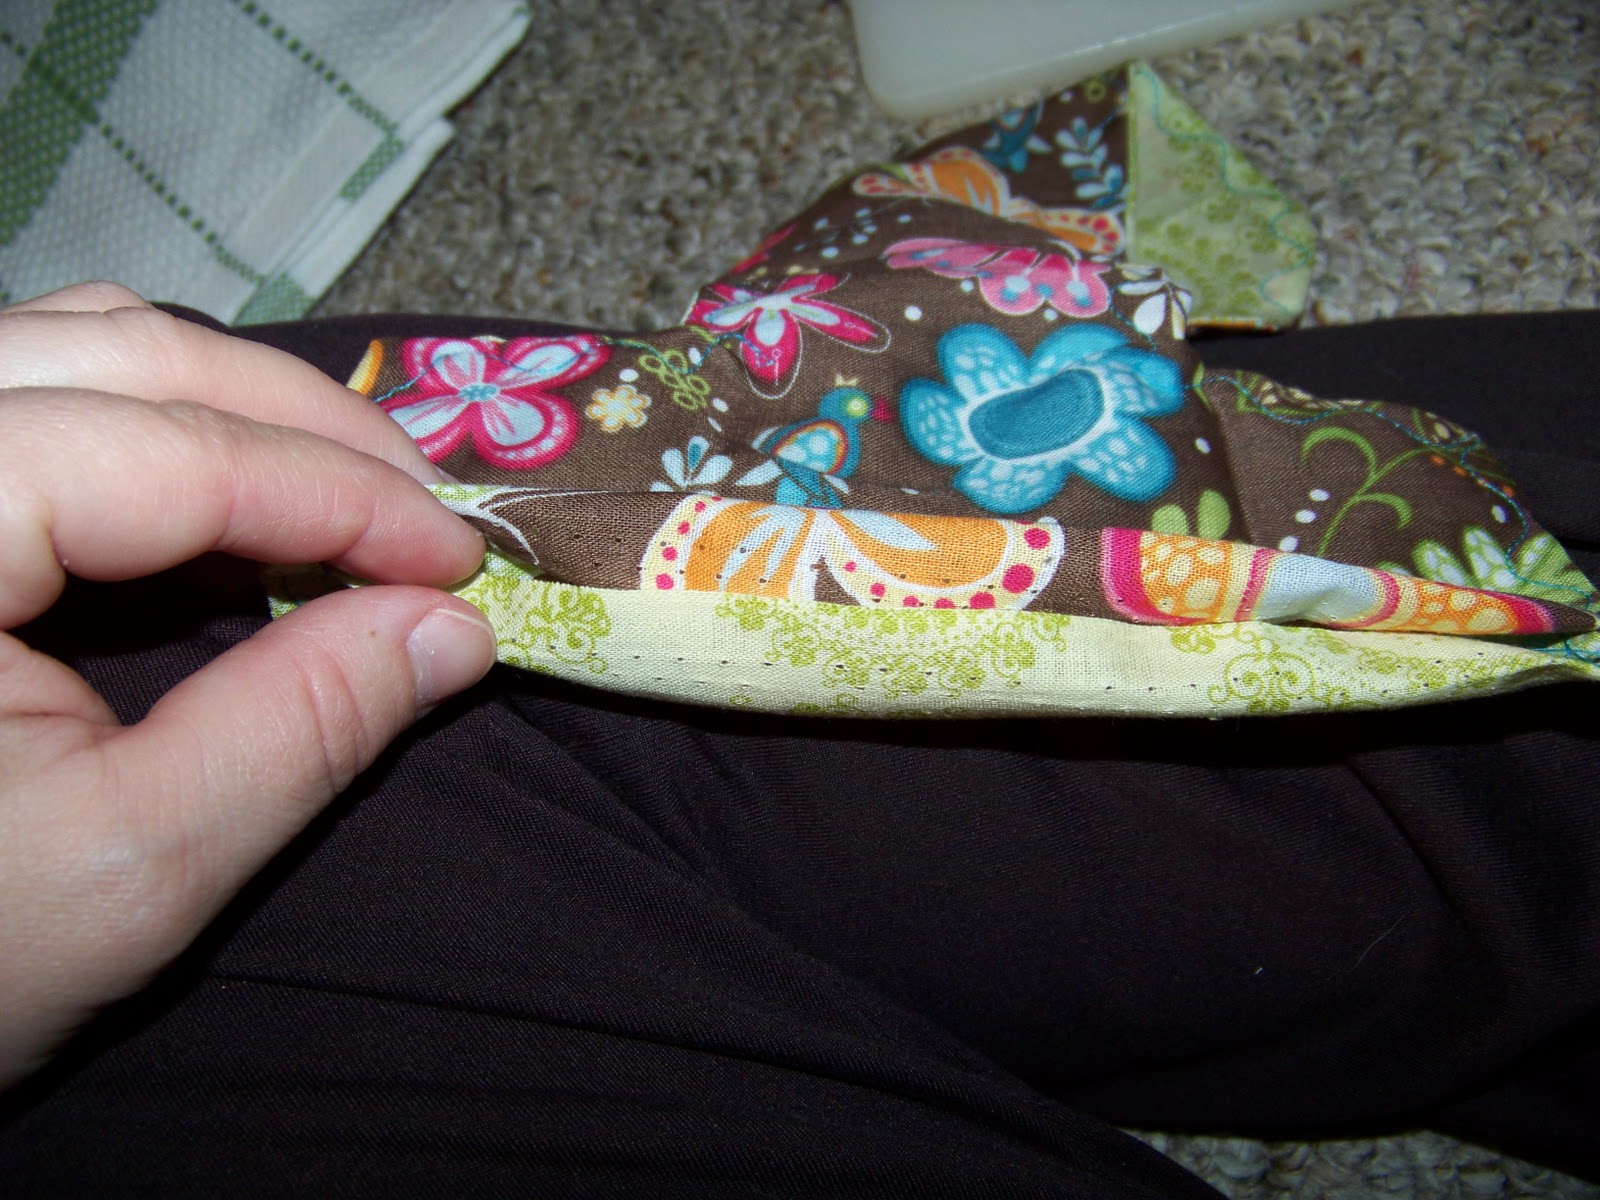
Fold the opening in, (where you're going to insert the towel), so there are no raw edges showing.


Take your gathered towel and insert the raw edge into your fabric piece.  spread it out evenly to have a nice, pleated look.


 Sew these two pieces together, I used that same curvy whimsical stitch, it's a bit more forgiving.


Once your hanging towel is put together you can sew a button hole into the top of the fabric.


Pick a button you like and sew it on to the bottom of your fabric piece.  If you are using complementing pieces of fabric, you can sew two buttons on to the fabric on either side to make it reversible. (TIP: use a pin in between the buttons, while you sew, so you can have enough room to button it.)


And there ya have it!  One cute hanging towel to use or give as a gift!  These are so nice to have in the kitchen or garage.


Wednesday, December 7, 2011

Canvas Art

I was meandering around pinterest one day and to my luck, I ran across Brassy Apple Blog.  What a creative lady!  I found this tutorial on canvas art and thought that is was a fantastic idea, that I needed to try.


So I did, with my favorite mantra EVERYONE DIES. NOT EVERYONE LIVES.  When I originally did this, I used a straight canvas, not a fabric covered canvas.  Here is my tutorial on canvas art using contact paper and an exacto knife.

What you'll need:

  • Canvas
  • Fabric
  • Glue (I used extreme glue stick)
  • exacto knife
  • contact paper 
  • spray paint


First pick your canvas size, I used 16x20 for this project.

Then you'll need to pick out a fabric pattern.  I used this pink floral design from a 2 yd/pack at walmart.  I can make FOUR 16x20 canvas' with 1 yard of fabric.  Before securing your fabric, make sure you press it, or you may have fold lines.


Turn your canvas over  onto the wrong side of your fabric and use a staple gun to secure the fabric to the canvas.


Brassy Apple suggests using a cricut machine, but I don't have one, so I just printed a type from Illustrator, glued it onto contact paper, then cut it out with an exacto knife.  Be sure to glue your letters onto the RIGHT side of the contact paper, or your letters will be backwards when you stick them onto the canvas/fabric.


After you cut your letter out of the contact paper (this will take a while, you'll need to go pretty slowly to accurately cut the letters), place them on the canvas where you want them, then peel the backing off each letter and stick it to your canvas.


YOU'RE ALMOST FINISHED!  

Use a bottle of spray paint to paint over the letters and canvas.  You may need two coats of paint.


After a few coats of paint, my fabric pattern was still showing through.  So here is a GREAT TIP to take with you.  USE DARK PAINT, I thought the burgundy would be dark enough, but, alas....it is not.


Viola!  Not what I expected, but still pretty cool, and I think my mom is gonna LOVE IT!  

I added a black outline around all the letters, so they stand out a bit more: